February 6
How to Prepare a Canvas for Oil Painting: Essential Steps for Artists
0 comments
February 6
0 comments
Preparing a canvas is a fundamental step in the journey of creating an oil painting. Before you even think of applying pigment to canvas, ensuring that the surface is primed and ready can make the difference between an amateur and a professional-looking piece. Whether you’re a seasoned artist or a beginner figuring out how to start with oil paints, knowing how to properly prepare a canvas sets the groundwork for your artwork. This preparation helps in enhancing the paint’s adhesion, altering the texture to your preference, and increasing the longevity of your work.
 The process begins with choosing a suitable canvas. The type of canvas you select can affect the final look and feel of your painting. After securing the canvas, it’s crucial to prepare the surface by cleaning and applying an appropriate primer. A well-primed canvas will have just the right amount of tooth to grip the oil paint, and a sealed canvas will protect the fabric from the potentially corrosive nature of oil mediums. Following these initial steps, some artists opt to include an underpainting layer, which lays a tonal foundation for subsequent layers of oil paint and can greatly affect the color dynamics of your painting.

When preparing to create an oil painting, the canvas you choose sets the foundation for your artwork. The material and preparation of the canvas can affect both the application of paint and the longevity of your piece.
Cotton canvases are affordable and easily accessible, making them an ideal choice for beginners. They have a smooth texture and are less prone to stretching and shrinking compared to linen. On the other hand, linen canvases are favored by professionals for their durability and resistance to decay. Linen’s finer texture and tighter weave provide a superior surface for oil paint, resulting in a more archival-quality painting.
Stretched canvases come pre-attached to wooden frames. They are convenient and ready to use, saving you time and effort in preparation. Stretched canvases are a popular option because of their ease of use. Rolled canvases, however, offer more flexibility in sizing and are typically less expensive. You can cut the exact size you need and stretch it yourself, giving you complete control over the tension of the surface.
Pre-primed canvases have been treated with a gesso layer, allowing you to start painting immediately and ensuring that the oil paint adheres properly. This is efficient and ensures consistent priming across the surface.
In contrast, unprimed canvases require you to apply a primer yourself. This can be advantageous, as you can choose the type and number of gesso layers, tailoring the absorbency and texture to your preferences. However, it’s necessary to note that oils should not be applied directly to raw canvas; a suitable primer ensures the longevity of your work and prevents the canvas fibers from deteriorating due to the oils.

When preparing a canvas for oil painting, ensuring a clean, well-adhered surface is critical for the longevity and quality of your artwork. A correctly prepared canvas will hold the paint better and prevent long-term issues such as cracking or peeling.
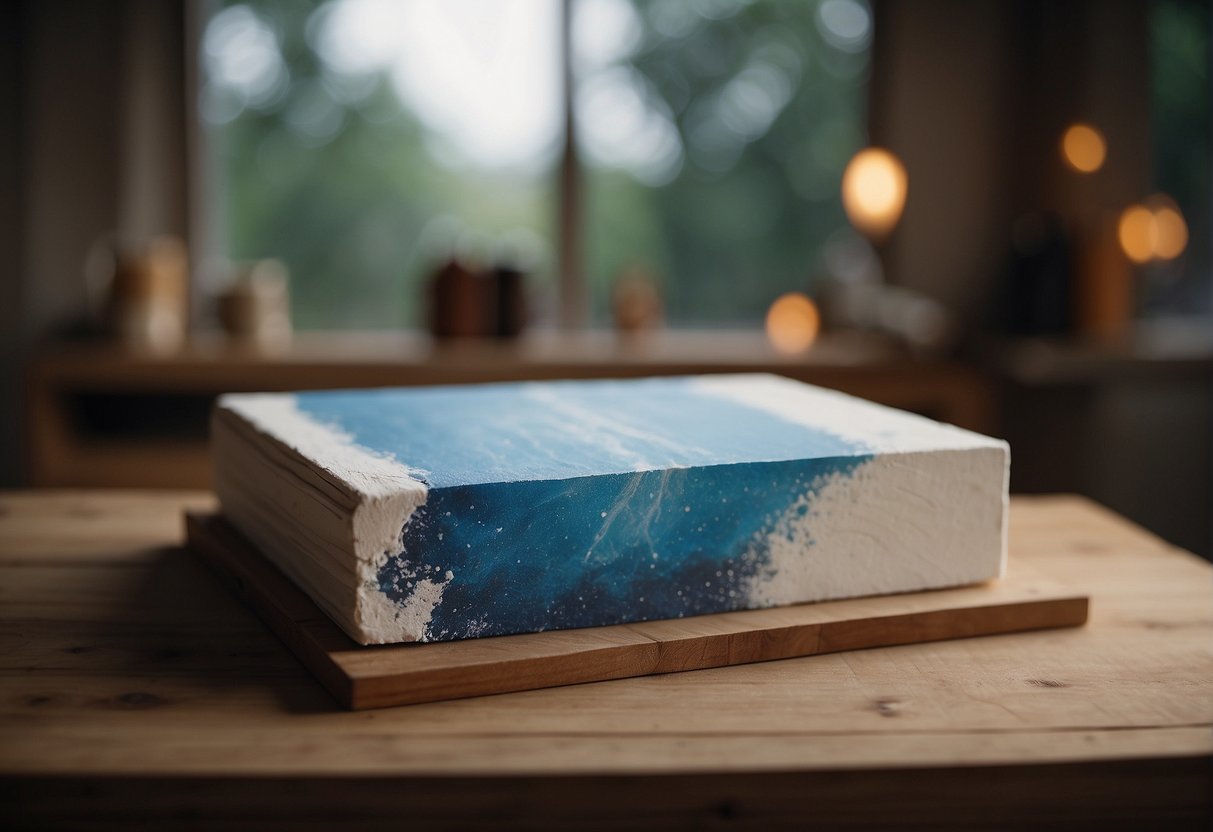
Before applying any primer, it is essential to size your canvas. Sizing seals the fabric and protects it from the corrosive nature of oil paint. Traditionally, artists use rabbit skin glue for sizing, which contracts the canvas fibers as it dries, creating a taut surface. To size your canvas, heat the glue granules in water until dissolved and apply it warm with a brush.
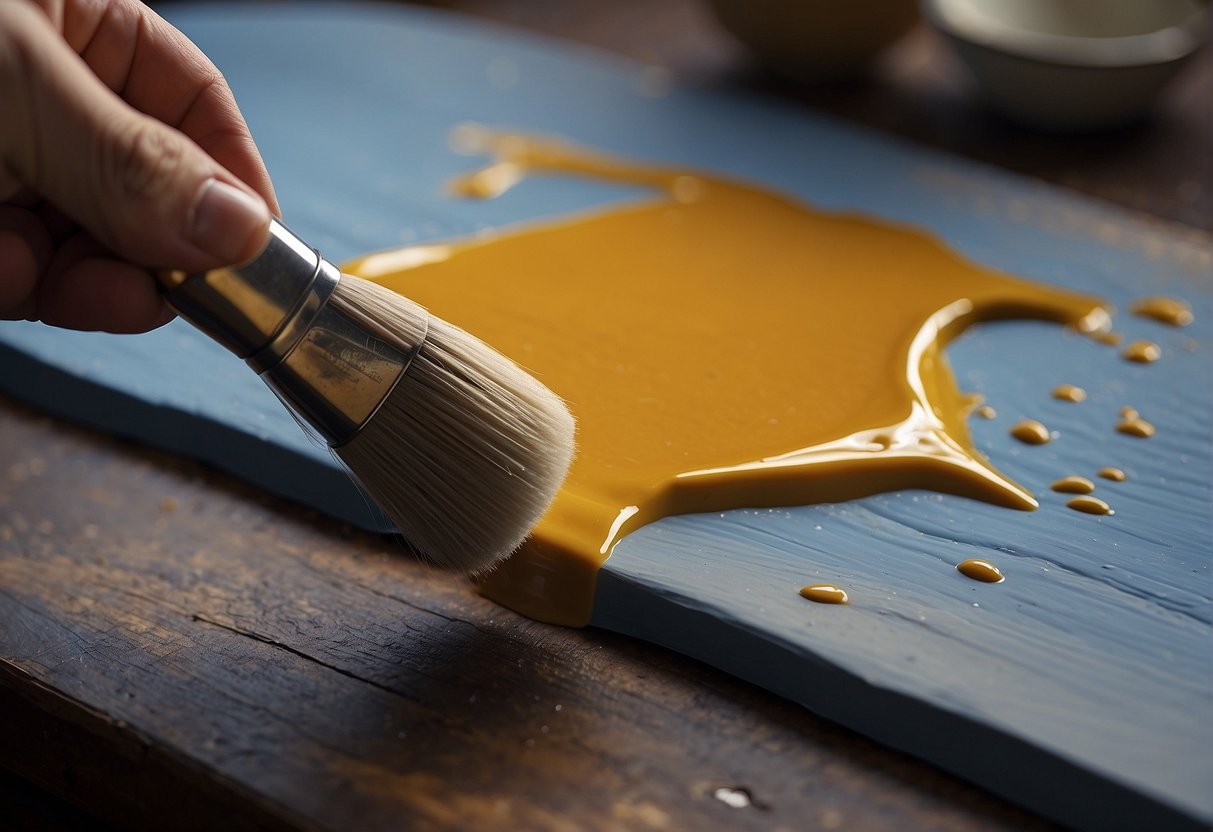
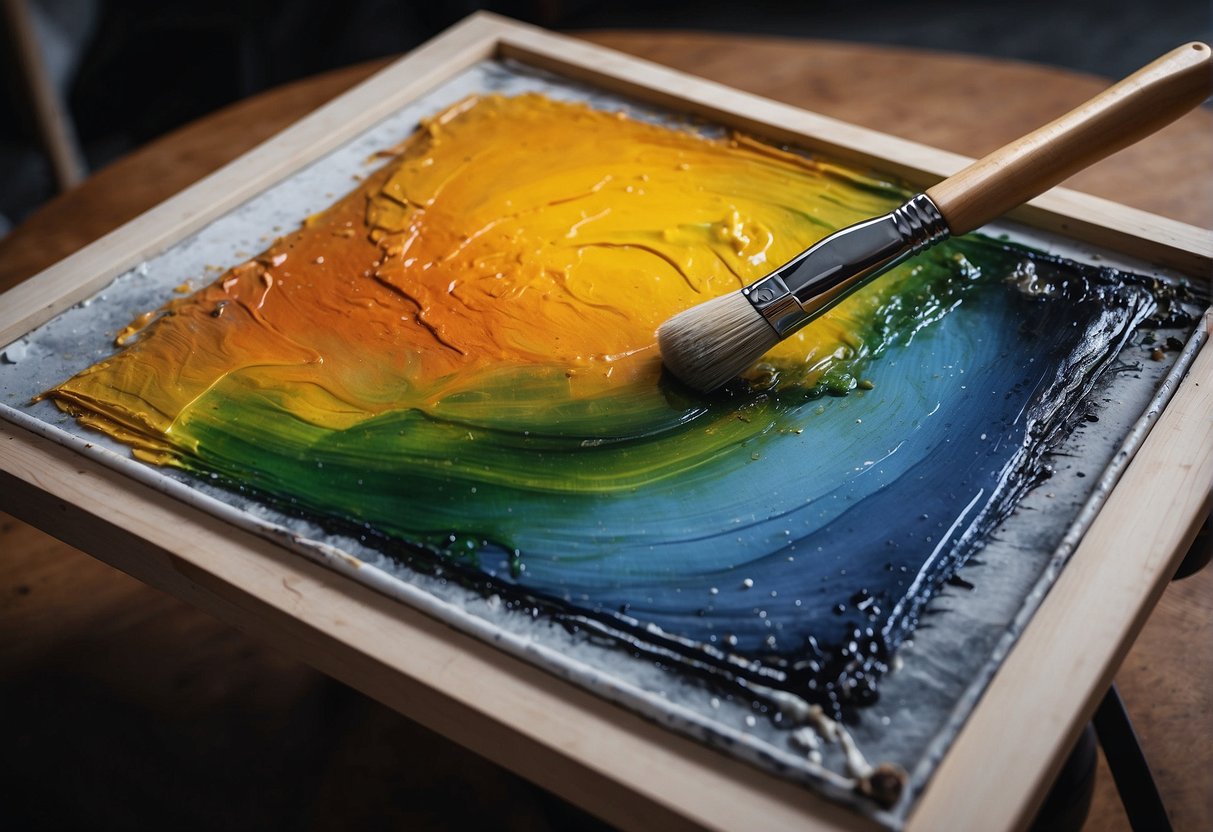
Once the size layer is completely dry, you can move on to applying the first layer of gesso. Acrylic gesso is most commonly used and provides an excellent surface for both acrylic and oil paints. It’s crucial that the gesso is applied evenly. You should start with a thin layer, using horizontal strokes, and let it dry thoroughly before adding subsequent coats. Typically, two to three layers of gesso are applied, sanding lightly between layers to achieve a smooth texture.
Priming is a crucial step in preparing your canvas for oil painting. It helps create a smooth, non-absorbent surface, ensuring the longevity and vibrancy of your artwork.
When selecting a primer for oil painting, you must choose between an acrylic primer (often referred to as gesso) and a traditional oil primer. Acrylic gesso is versatile and quick-drying, suitable for both acrylic and oil paints, but for a surface specifically tailored to oil paints, a solvent-based oil primer is recommended. While acrylic gesso is easier to apply and more forgiving, a solvent-based oil primer will seal the canvas more effectively and give you a surface that interacts optimally with oil paints.
Achieving an even ground on your canvas can be accomplished by applying the primer in thin, consistent layers. Use a wide, flat brush to spread the primer, stroking from one side of the canvas to the other while maintaining a steady pressure. Allow each layer to dry before applying the next; this ensures a smooth finish without texture from the brush strokes.
The absorbency of your canvas is a critical factor in how your oil paint will behave. A highly absorbent ground can draw the oil out of the paint, causing a ‘sinking in’ effect and a dull finish. To mitigate this, you can size your canvas before applying the primer, especially if you’re using an oil-based primer. Sizing materials such as rabbit skin glue will protect the fabric from the paint, reducing absorbency and enhancing the adhesion and longevity of your oil paint.
Preparing your canvas with the right texture and tooth is critical for ensuring your oil paint adheres properly and your brush strokes come to life. This requires the application of gesso to create a surface texture and sanding for desired smoothness.
Gesso serves as a foundational layer to prep your canvas, providing the tooth that your oil paints require to stick to the canvas. To build up texture:
Every coat of gesso will increase the granularity of your canvas, providing more grip for your paint.
After gessoing, you might desire a smoother finish for detailed work or to soften the texture. For this:
Remember, the smoother your canvas, the more subtle your brush strokes will be, allowing for finer details in your painting.
Before applying paint, it’s essential to properly seal your canvas. This process involves the application of a protective barrier layer that prevents oil paint from directly contacting the canvas fibers, which can cause deterioration over time. The right sealer will ensure the longevity of your artwork.
When preparing your canvas, you must apply a protective barrier layer. A traditional choice for this is rabbit skin glue, which sizes the canvas, tightening it and making it less absorbent. For a more contemporary approach, you can apply an acrylic sealer. This barrier layer acts as a shield between the raw canvas and the subsequent layers of primer and paint.
Selecting the right sealer is crucial for the stability of your oil painting. Rabbit skin glue is a historic sealer known for its natural and archival qualities, but keep in mind that it’s hygroscopic, meaning it can absorb moisture, which might lead to canvas warping or rot. Another option is a commercially prepared PVA sealer, which is less prone to environmental fluctuations.
An alternative for those wanting to create a more flexible and non-toxic barrier is to use a linseed oil based sealer. However, when using linseed oil, ensure it’s applied thinly to avoid yellowing and wrinkling over time. Some artists choose a clear acrylic gesso, which provides a stable surface for oil paints to adhere to while ensuring the longevity of the work.
Remember, the sealer you choose will set the tone for the overall quality and preservation of your oil painting.
Before you apply any vivid colors or start detailing your oil painting, establishing a solid foundation through underpainting is crucial. This process helps define light and shadow, creating a map for your future work and ensuring that the value relationships are accurate throughout your painting.
To start a value underpainting, you’ll work with varying shades of gray to represent the lightness or darkness of different parts of your composition. This monochromatic sketch will act as a guide for your painting’s tone, and typically, artists use a limited palette of black and white for this technique. This helps you focus on the lighting and form rather than color, providing a clear structure and depth to build upon.
Prepare Your Canvas:
Establish Values:
Refine Gradations:
Once your value underpainting is complete, you move on to defining the forms more accurately through tonal rendering techniques. These methods involve adjusting the tonal values to create an illusion of depth and volume.
Glazing:
Scumbling:
By carefully adjusting the tonality of various elements in your painting at this stage, you set a strong foundation for the colors and intricate details to come. Remember, the underpainting is an invaluable step in your workflow, determining the clarity and luminosity of your finished artwork.
 Before you begin your oil painting, understanding how to mix colors properly and how oil paint behaves on your palette and canvas is essential. This groundwork ensures the successful application of paint to create the desired effects in your artwork.
To start, you’ll need to set up your palette in a way that allows for efficient color mixing. Lay out your oil paints in the same order each time to develop muscle memory. A palette knife should be used for mixing to maintain clean colors, as it’s less likely to carry unwanted paint from other mixtures. Aim for a limited color palette; too many colors can lead to muddy results. When adding white to lighten a color, remember that oil paints often dry darker than they appear when wet.
Oil paints have a distinct behavior; they’re thick and have a long drying time, which allows for extended working time. Understanding fat over lean is paramount – start with thin layers of paint and gradually add layers with more oil. This rule is crucial for preventing cracking as the paint dries.
When applying paint to the canvas, use varying brush strokes to explore different textures and effects. Be aware that some colors are more transparent than others, which can impact layering. If you mix directly on the canvas, do so with a light touch to avoid muddying your layers.
Preparing a canvas for oil painting requires specific tools and materials to ensure the best possible results. You’ll need to gather a variety of brushes and knives for the painting process, as well as a staple gun and canvas pliers for securing the canvas.
To start, choose a set of high-quality brushes made for oil painting. You’ll want a mix of sizes and shapes to accommodate different techniques and details.
Selecting the right tools will influence the texture and finish of your painting.
To properly stretch a canvas on a frame, you will need:
To properly stretch the canvas:
Having these tools at hand ensures your canvas is taught and ready for painting, which is crucial for a smooth and stable painting experience.
 To create a magnificent oil painting, you need to master certain techniques that will enhance the texture, luminosity, and longevity of your work. Paying attention to how you layer your paint and manage drying times is crucial.
Layering is essential for building depth and form in your painting. You’ll start with a thin primer, which could be an acrylic gesso or a solvent-based oil primer. The job of the primer is to create a surface that the oil paints can adhere to without sinking into the canvas. Once the primer is dry, you begin with the underpainting, working in layers from thin to thick. Remember to let each layer dry sufficiently before applying the next; this avoids unwanted mixing and keeps your brushstrokes crisp.
In glazing, you apply transparent layers of paint on top of one another to create rich, luminous color effects. The key to successful glazing is patience; allow the paint to thoroughly dry between each layer, even if it takes days. Use a medium, like linseed oil, for a smooth glaze and consider adding a touch of solvent to thin your oils in the initial layers.
Oil paints are known for their lengthy drying times, which can be both a blessing and a challenge. You can manipulate this to your advantage by blending and reworking your paint without rush. For quicker drying, you could use a medium that accelerates this process or opt for oil paints that are formulated to dry faster. Conversely, if you need more time to manipulate the paint, add less or no medium. Always be aware of the ‘fat over lean’ principle: start with thin washes of paint mixed with a solvent and gradually move to thicker layers with less solvent, which keeps your painting stable and prevents cracking.
When preparing a canvas for oil painting, the steps you take can significantly influence the longevity of your artwork. Proper preparation prevents deterioration like cracking and peeling, and addresses environmental factors that can affect the painting over time.
To avoid cracking in your oil paintings, ensure that the canvas is properly sealed and primed. A high-quality gesso forms a barrier that stops oil from sinking in and weakening the canvas fibers. Here’s how:
Remember, oil paint dries slowly, so a thin layer of oil paint over a well-prepared gesso layer will minimize the risk of cracking as the paint dries and ages.
Your painting’s environment plays a crucial role in its preservation. Be mindful of the following:
Use a solvent-based varnish to add a protective layer that will shield the painting from pollutants and physical damage. Always ensure your workspace is well-ventilated when using solvents.
Before diving into your oil painting venture, it’s essential to understand the process of preparing your canvas. Proper preparation can greatly affect the durability and final appearance of your artwork.
If you choose not to use gesso, you can prime your canvas with a sealing layer of rabbit-skin glue followed by applying an oil-based primer to create a suitable surface for oil paint. Ensure each layer is completely dry before proceeding to the next.
Technically, yes, acrylic gesso is a commonly used primer that prepares the canvas for oil paint by providing a textured surface for the oils to adhere to. It is important not to use acrylic paint as a primer, though, as it might be too slick or glossy for oil paint to adhere properly.
Yes, priming your canvas is crucial. It prevents the oil from seeping into the fabric fibers, which could degrade the canvas over time. Priming also helps the paint to adhere better and provides a consistent surface in terms of texture and absorbency.
For a linen canvas, begin with a coat of sizing to prevent the oils from directly contacting the fabric, which can lead to rot. Afterwards, apply a high-quality oil primer, allowing ample drying time between coats, to achieve an optimum painting surface.
Start by choosing the right materials—a pre-stretched canvas and good quality synthetic or hog’s hair brushes. Apply gesso evenly in parallel strokes, covering the entire surface including the edges. Allow it to dry completely before lightly sanding for smoothness.
No, it is not advisable. Oil paints on an unprimed canvas can cause the fabric to deteriorate over time due to the acidity of the oils. Additionally, the paint may not adhere properly, leading to a lackluster finish and potential cracking or peeling.
Tags
Session expired
Please log in again. The login page will open in a new tab. After logging in you can close it and return to this page.